
STEADFAST STRENGTH AND MOBILITY · TRAINING AFTER 40
Thank you for reading this post, don't forget to subscribe!
The goal is simple: get out of a chair, take the stairs, and enjoy your day with legs you can rely on.
You may notice it when you lower yourself into a car, step off a curb, or reach the last few stairs after a long day. Your legs have the job done, but you would like the movement to feel smoother and more confident.
Knee stability exercises can be part of that work. The useful question is which movements you can practice well today, then gradually strengthen. A demanding exercise that requires you to grab for support on every repetition is a poor starting point.
This guide takes you from choosing a starting exercise to organizing a manageable session. It is general strength coaching for adults who can exercise comfortably, not a diagnosis or a rehabilitation protocol for an injured knee.
First, separate a training goal from a knee problem
Wanting stronger legs is a reasonable training goal. A knee that repeatedly gives way, locks, or becomes swollen needs a different conversation. Do not assume that a wobble proves weak glutes, or that pain tells you which tissue needs strengthening.
If you already have a diagnosis, a joint replacement, or a recent injury or operation, follow your treating clinician’s plan. Your restrictions take priority over every exercise and progression here.
What stronger, steadier movement actually involves
Strength
Produce enough force to stand, climb, and carry out the task.
Control
Choose your pace and position through the movement.
Repeatability
Practice a dose that fits the rest of your day and week.
Those are the three qualities we would organize this session around. Motor control describes how you organize movement. Balance is another part of the picture. Neither is measured completely by whether you can stand on one leg for a few seconds.
Clinical evidence supports exercise for particular knee conditions. A 2024 best practice guide for patellofemoral pain recommends education alongside exercise targeting the knee, with hip exercise and other supports selected for the individual. That supports individualized care; it does not establish one universal list of the best exercises. Neal and colleagues, 2024.
The American Academy of Orthopaedic Surgeons also includes strengthening in its knee conditioning guidance and emphasizes clinician supervision for rehabilitation. The options below are a separate coaching example, not a reproduction of its treatment program. AAOS knee conditioning guidance.
Choose a useful starting point
Start with the everyday task you want to improve. Then choose an exercise that resembles part of that task without requiring more control than you currently have. This follows the training principle of specificity.
| Your goal | An option to explore | Make the first attempt manageable |
|---|---|---|
| Getting up from chairs | Chair sit to stand | Use a higher, firm seat and hand assistance if needed |
| Climbing stairs | Supported low step up | Use a low platform and fixed hand support |
| Building general leg strength | Hamstring curl and calf raise | Begin with comfortable motion and light resistance |
| Practicing standing control | Supported hip abduction or balance practice | Keep a stable support within reach |
Hand support is a legitimate training tool. It lets you practice the leg action while managing the balance demand. You can keep using it when you add resistance; removing support is not a required graduation test.
Five exercises to build your foundation
Use these as a menu. You do not need every exercise in every workout. For each choice, the first repetition should feel like something you could reproduce. Stop an exercise that brings on knee pain, swelling, giving way, or an altered walking pattern. If your clinician has given you a specific symptom monitoring plan, use that instead.
01 · GETTING UP
Chair sit to stand
Purpose: Practice the squat pattern with a clear, repeatable target.
Place a firm chair against a wall so it cannot slide. Sit toward the front, with both feet supported on the floor. Lean forward enough to bring your weight over your feet, then stand. Reach your hips back toward the chair and sit down under control. Avoid dropping into the seat.
Start here: Try 5 to 8 repetitions. Use the armrests or a higher stable seat when needed. Do not stack loose cushions to create height.
Next option: Repeat the same movement with less hand assistance, or add a few repetitions. Keep the seat height unchanged while you learn what you tolerate.
02 · TAKING THE STAIRS
Supported low step up
Purpose: Practice raising and lowering your body with one leg doing more of the work.
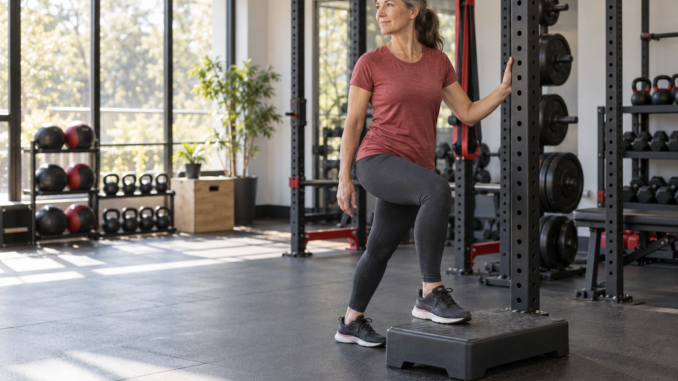
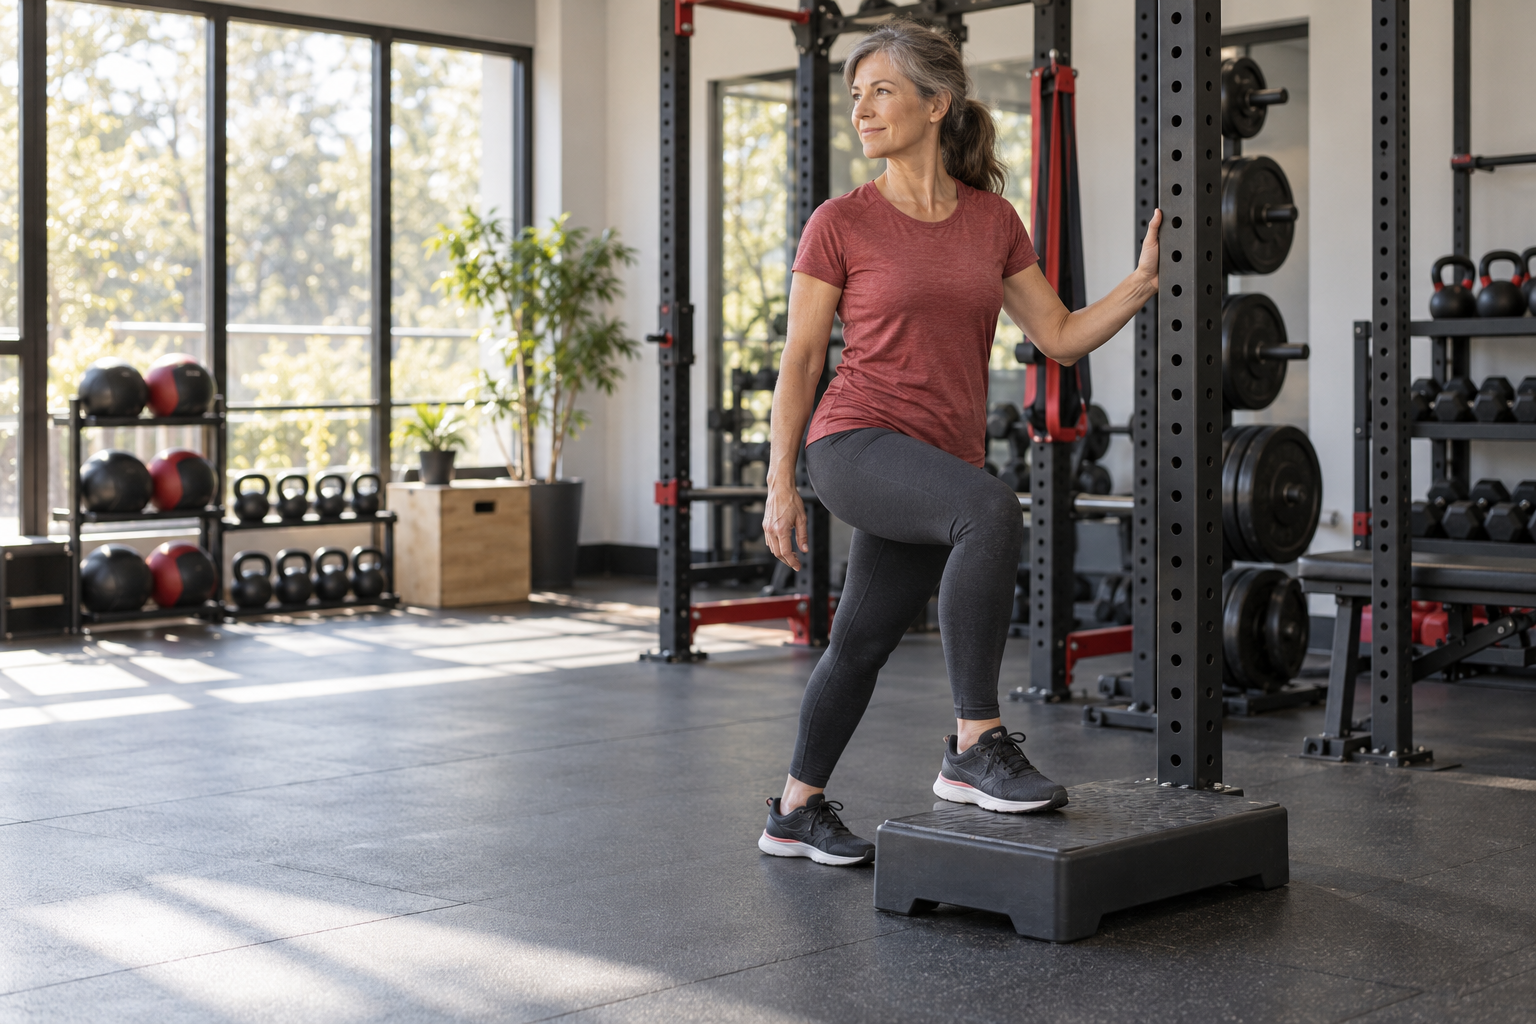
Choose a stable, nonslip platform around 2 to 4 inches high beside a fixed rail or rack. Put your whole working foot on it. Hold the support, rise onto the platform, then return the trailing foot to the floor slowly. Keep the movement deliberate rather than bouncing off the floor.
Start here: Try 4 to 6 repetitions per side. If the movement requires a hop or a strong pull with your arm, reduce the height or return to chair practice.
Next option: Add repetitions before increasing height. Our step up guide explains the movement in more detail. Descending a full staircase is a separate demand; success here does not prove readiness for it.
03 · TRAINING THE BACK OF THE THIGH
Light seated hamstring curl
Purpose: Add direct hamstring work in a supported position.
At the gym, ask a coach to adjust the machine’s seat and pads to your body and explain its controls. Choose a light load. Bend your knees to move the pad through a comfortable arc, then return the weight smoothly without letting the stack crash.
Start here: Try 8 to 10 repetitions. At home, an unloaded standing knee bend while holding a fixed support is a simpler option. It is not an equivalent resistance workout.
Next option: Add the smallest available load only after the current setting is easy to repeat. Keep any surgery specific range restrictions.
04 · PRACTICING HIP CONTROL
Supported standing hip abduction
Purpose: Practice moving one leg sideways while keeping the trunk steady.
Stand beside a fixed counter and hold it. Keep your standing foot planted and move the other leg a small distance to the side. Return without swinging. Aim to keep your belt line fairly level rather than leaning your upper body away to lift the leg higher.
Start here: Try 6 to 8 repetitions per side without a band. A small, controlled movement is enough for the first practice.
Next option: Add repetitions or light resistance while retaining support. This is one hip exercise, not proof that hip weakness caused a knee symptom.
05 · INCLUDING THE LOWER LEG
Supported calf raise
Purpose: Include calf strength in your lower body routine.
Hold a fixed counter with both feet on level ground. Lift your heels together, pause briefly, and lower smoothly. Keep the pressure spread across the front of each foot. Begin on the floor rather than hanging your heels off a step.
Start here: Try 8 to 12 repetitions, using a height you can control.
Next option: Build repetitions before adding load. Keep hand support when you need it.
Optional: practice balance without turning it into a stunt
Beside a fixed counter, stand with one foot slightly ahead of the other. Hold support as needed and practice staying steady for 10 to 20 seconds. Keep your eyes open. Switch the leading foot. If comfortable, you can later explore a narrower stance with a coach.
Skip unstable cushions, closed eyes, and carrying weights during your first balance sessions. The purpose is practice you can control. For context, proprioception is your sense of body position and movement; it is related to balance but is not the same thing.
Your first session: choose four movements
This is an illustrative starting session for someone who already walks and exercises comfortably. It is deliberately modest. If that description does not fit you, get help choosing an appropriate starting dose.
A simple strength practice
Begin with 5 to 10 minutes of comfortable walking or easy cycling, consistent with AAOS warmup guidance. Then try:
- Chair sit to stand: 1 set of 5 to 8.
- Seated hamstring curl: 1 set of 8 to 10.
- Supported standing hip abduction: 1 set of 6 to 8 per side.
- Supported calf raise: 1 set of 8 to 12.
Rest about 60 to 90 seconds between exercises, or longer if needed. Keep breathing normally. Finish before fatigue changes how you move.
On a later session, a low step up can replace chair practice if it is appropriate for you. It does not need to be added on top of everything else.
Try this on two nonconsecutive days as a coaching starting point, leaving room to observe your response. If you already train your legs, count these exercises within your existing workload. Our training volume guide explains why extra sets still count even when the exercises look easy.
Progress when the evidence is in your own training log
After a session, write down three things: the variation you used, what you completed, and how walking or stairs felt afterward and the next day. That is more useful than judging a workout by sweat or soreness.
For this starter plan, we would repeat the same dose for several sessions before making a change. Look for consistent movement, a few repetitions still available at the end, and no new or increased knee symptoms afterward. A clinician may set different criteria for a diagnosed condition.
| If this is repeatable | Try this next | Keep this unchanged |
|---|---|---|
| 5 comfortable chair stands | 6 or 7 repetitions | Chair height and hand assistance |
| One manageable set | A second set of one exercise | Resistance and movement depth |
| The top of your repetition range | A small load increase, where appropriate | Support and technique |
| A controlled low step up | A few more repetitions | Platform height |
This is progressive overload applied patiently. A greater range of motion is another possible progression, not an obligation. If a change causes symptoms, stop that exercise and reassess; do not keep repeating it to see whether the knee eventually accepts it.
Frequently asked questions
Does knee stability training repair a ligament?
This article does not establish that. Building strength and movement skill is different from diagnosing or treating a ligament injury. Repeated giving way deserves an assessment and an individual plan.
Can I start with machines?
Yes. A properly adjusted machine can provide a useful supported way to practice resistance exercise. Choose it for your needs and comfort. You can also practice everyday movements, such as standing from a chair, when appropriate.
Do I need deep squats?
No particular depth is required for this starter routine. Use a comfortable range you can repeat. A higher chair or lower step can make practice more manageable. Medical restrictions come first.
What if my knees click?
Painless clicking can be normal. Clicking with pain, locking, giving way, or swelling deserves medical advice. Sound alone is not a reason to diagnose damage or test progressively heavier exercises. See the NHS guidance linked above.
Should I stop using hand support as soon as possible?
No. Support can remain part of an effective exercise setup. Choose whether to challenge strength or balance in that session. You do not need to increase both demands together.
Can I use these exercises after knee replacement?
Use your surgeon’s and physical therapist’s instructions. Healing stage, range restrictions, and current function determine what belongs in your program. This general article cannot provide postoperative clearance.
How soon should stairs feel easier?
There is no guaranteed timeline. Track the same daily task over time and look for a useful trend. If symptoms persist or worsen, seek an assessment rather than extending the same plan indefinitely.
